project
For my final project, I wanted to continue my journey with sound and create a simple instrument. I've been interested in continuous and polytonal instruments for a long time, and have frequently thought about building my own.
Building an instrument with a ribbon controller seemed like a fairly interesting and relatively approachable way to tackle this problem. My goal was to create something a bit like the Modulin, though—at least at this stage—my instrument would only have pitch control.
overview
At a high level, the architecture of this project is fairly straightforward. The touch strip is connected to an arduino, which samples the touch position 200 times per second and sends these values over the serial port to the connected webapp. The app is responsible for converting this raw input data into the 41,000 audio samples per second that make up the output sound!
hardware
I started out by putting together a few components to make sure everything was working. This temporary setup also allowed me to start working on the webapp and synth before everything was finalized on the hardware side.
I also mounted the 500mm linear potentiometer on a random strip of wood that came with my desk, and glued high friction foam to the bottom to help prevent the instrument from moving around while it's being played. Unfortunately, I also learned that the linear potentiometer is incredibly fragile when I sliced through the trace that carries the voltage for the far end of the potentiometer. Thankfully, my project didn't hit a dead end here; while it was no longer a potentiometer, the touch strip still functioned as a variable resistor between the remaining two pins. As a consequence of this blunder, I did lose a bit of precision as well as the linearity of the output voltage. Thankfully, it's easy enough to correct for this by doing a bit of math later on.

Early prototype setup
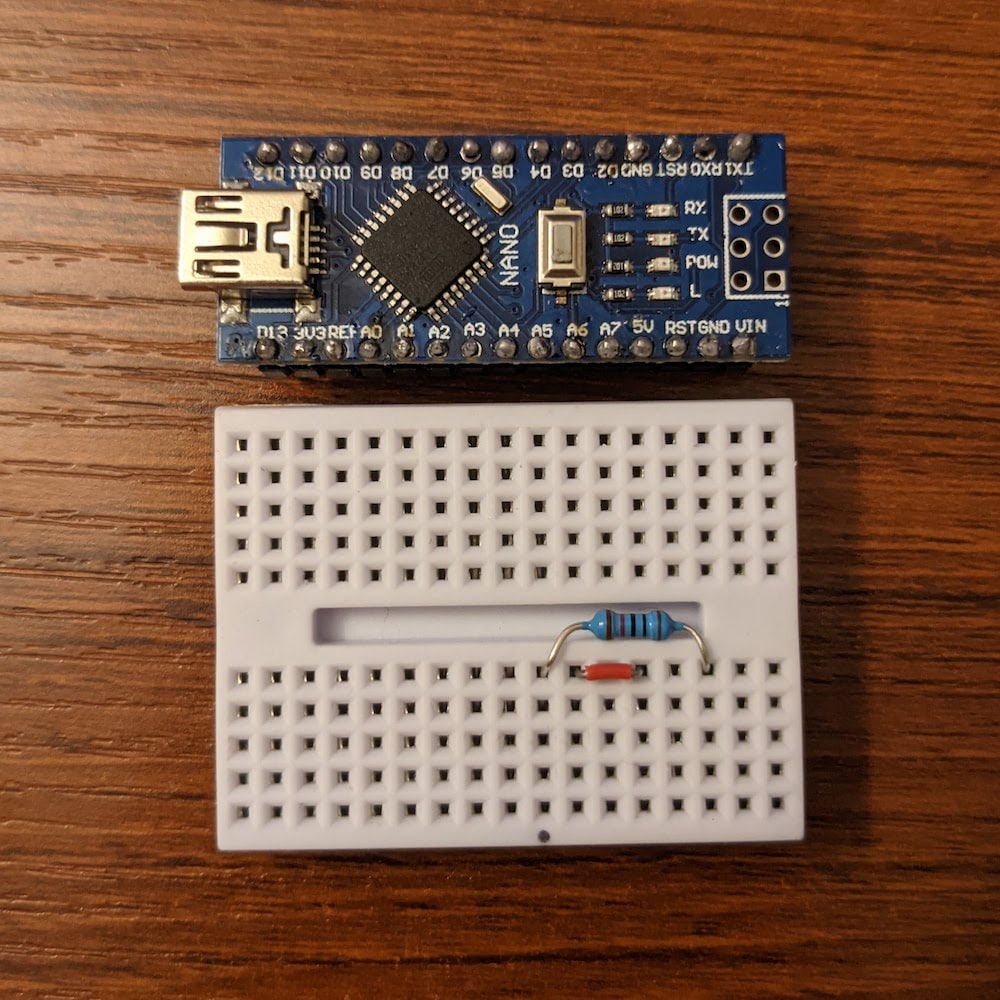
Once I was happy with the circuit, I packaged it all up. I switched to an old fake arduino nano I had lying around, because it fit directly on the small breadboard I was using to connect to the touch strip. This helped me keep all the guts of the device in one super tidy package. The wiring for the voltage divider also fit completely underneath the arduino, keeping it out of the way.
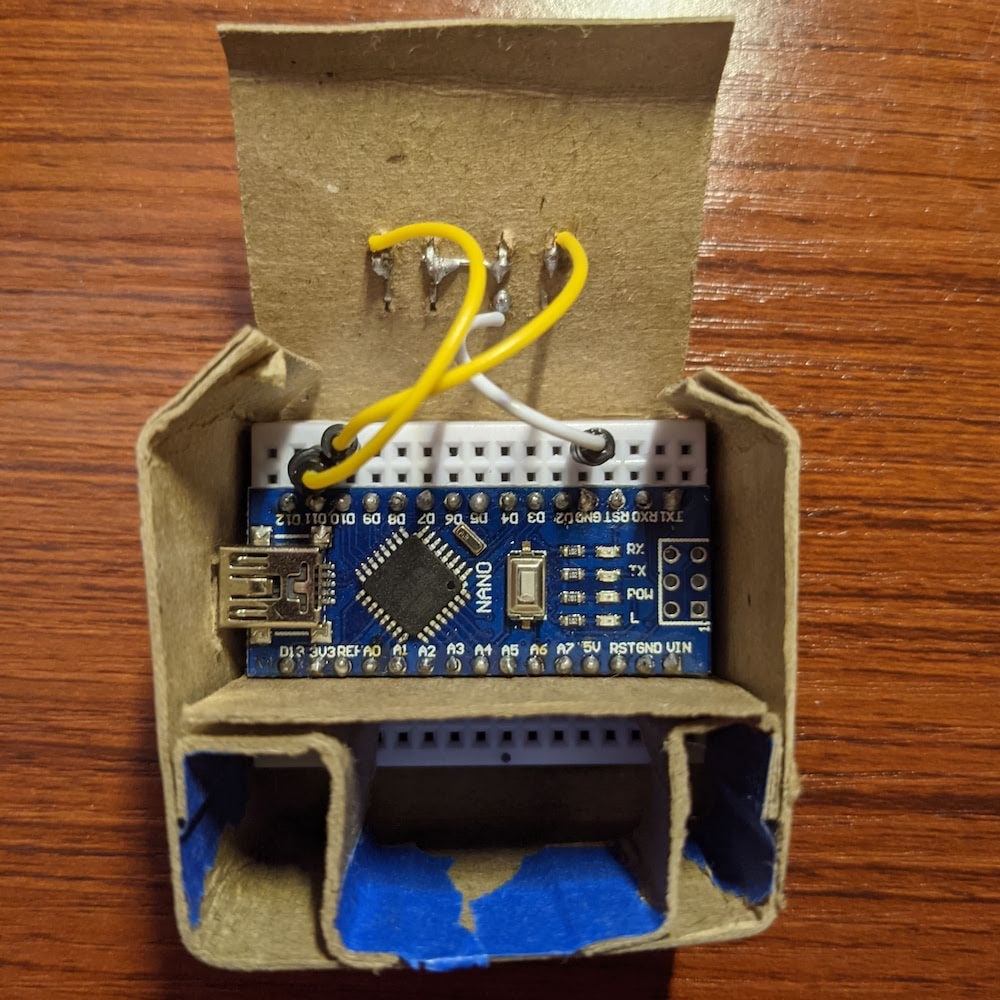
I taped together a small custom box out of cardstock to hold everything together and align the pins of the linear potentiometer for easy insertion and removal. I also cut out a hole for the USB port of the nano.


The nano in its custom box
Once every three years or so, I think it might be a good idea to try soldering again, and once every three years or so, I remember how much I detest soldering and how bad I am at it. (These two things may possibly be related.) The two buttons were mounted through the cardstock and soldered to halved jumper wires. Thankfully, I practiced before doing this, and I think the soldering actually turned out pretty decent.

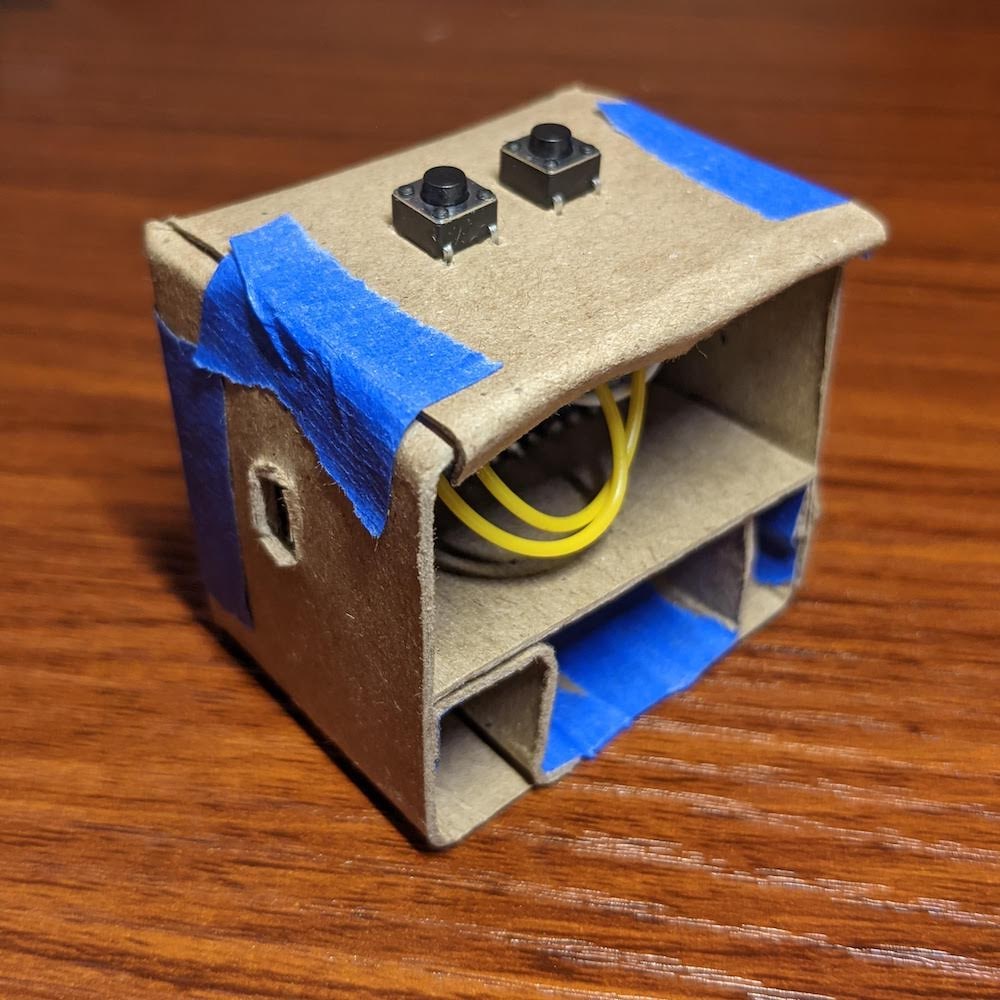
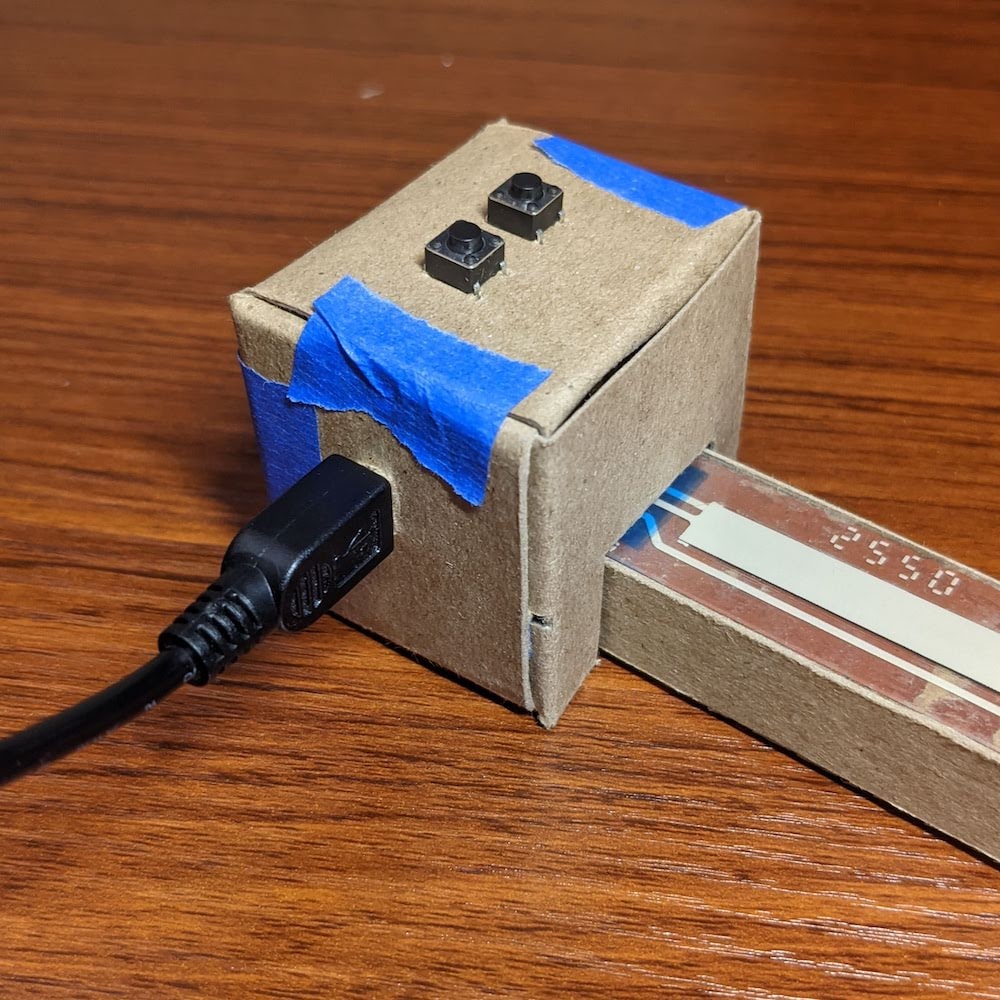
Soldering and assembling the hardware enclosure
Eventually, once I was satisfied that everything was in the right place, I removed the adhesive backing from the breadboard and glued the rest of the box together, ditching all the tape.
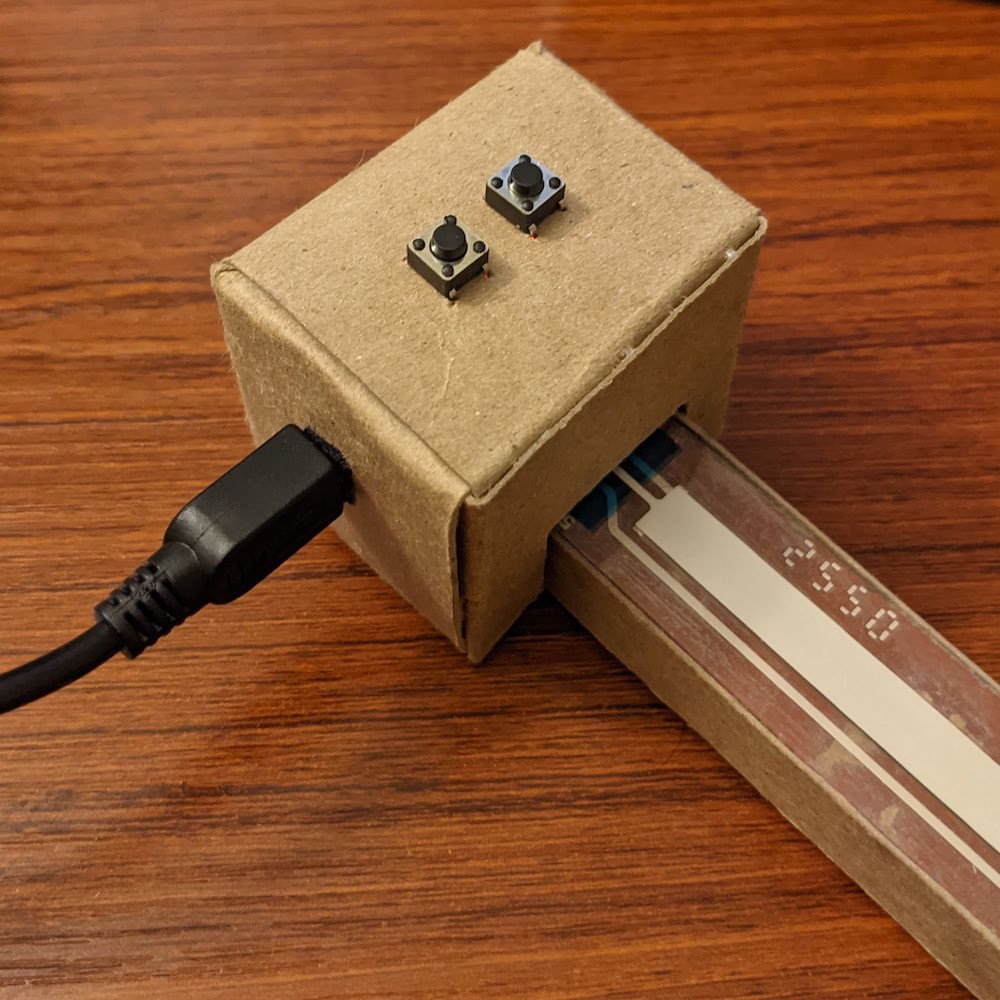
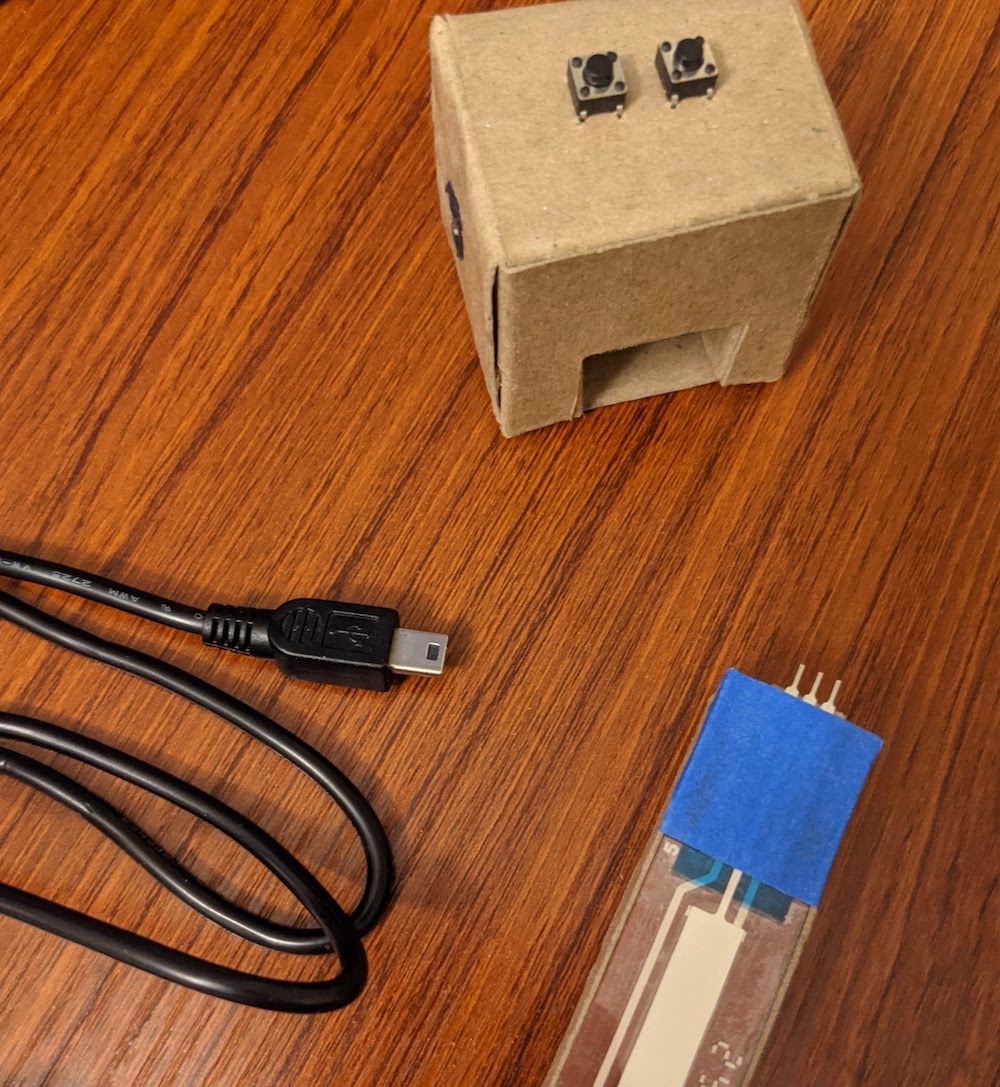
The three parts can be easily disassembled
schematic

firmware
The arduino's role is fairly small—it simply reads in values from the touch strip and buttons and sends information over the serial port accordingly.
// number of samples of touch strip to take
const int numSamples = 4;
// required level to count as "touched"
const int activationThresh = 300;

void setup() {
  // open the serial port
  Serial.begin(19200);
  // pull button pins up - so we don't need resistors
  pinMode(10, INPUT_PULLUP);
  pinMode(11, INPUT_PULLUP);
}

// remember button states
boolean a = false;
boolean b = false;

void loop() {
  // read touch strip position
  int value = analogRead(A5);
  int samples = 1;
  // sample multiple times - helps with jitter considerably
  int tempValue = analogRead(A5);
  while (samples < numSamples && tempValue > activationThresh) {
    value += tempValue;
    samples++;
    tempValue = analogRead(A5);
  }
  value /= samples;
  // print out touch value
  Serial.println(value);

  // read in button values
  boolean _a = !digitalRead(10);
  boolean _b = !digitalRead(11);
  // send updates only if changed
  if (_a != a) {
    Serial.println(_a ? 'A' : 'a');
    a = _a;
  }
  if (_b != b) {
    Serial.println(_b ? 'B' : 'b');
    b = _b;
  }

  // wait 5ms before going around again!
  delay(5);
}
web
The webapp does most of the heavy lifting! There's far too much code to show it all on this page, but it's all available on Github. I had a lot of fun writing a custom synth for this project. It's something I've wanted to do for a long time but never found the excuse or motivation to before.
Some points of interest in the code might be:
- ADSREnvelope
- AudioScheduler: responsible for scheduling new audio sample generation and stitching it all together! (Huge hat tip to this article on precision scheduling for WebAudio)
- SettingController and Scrubber: used for controlling parameter values using the touch strip
- InputSmoother: smooths raw input from Arduino and normalizes the non-linear output from the resistor divider
- app: the glue bringing everything together!
The webapp also uses my recent p5.WebSerial, a p5.SerialPort-inspired Serial library for the web that uses the WebSerial API instead of a node bridge.
It won't be very interesting without a physical device, but you can try out the webapp yourself. It should be fairly easy to have an arduino spit out appropriate values—the AnalogReadSerial built-in example will work if you change the delay from 1 to 5ms. Note: WebSerial is only available in Chrome at the moment.
all together now!
I'm still getting the hang of the instrument, and my intonation isn't great—the built-in autotune is certainly doing its best. If you can stand it, you can listen to me (attempt to) play "Somewhere over the rainbow."
looking forward
I'd like to continue to develop this instrument concept, and make changes to both the hardware and software. On the hardware side of things, additional features could make the instrument a lot more expressive and enable different kinds of sounds. I think I could add a long force sensitive resistor underneath the linear potentiometer to allow the instrument to also measure pressure. An ultrasonic or capacitive sensor on the left could also enable free-floating input, like a theremin.
On the software side of things, there's still a lot of features that I'd like to add, many of which could be done easily without extending the current hardware. I've really enjoying writing my own synth from the ground up and would like to continue experimenting with new sounds and instruments. The current interface is also quite simplistic and could use quite a bit of cleaning up.
I also still want to experiment with MIDI output. This could either be an extension to the hardware (adding a DIN port and implementing MIDI support in the arduino firmware) or to the current software (creating a virtual MIDI device and using the existing Serial communication method). MIDI support would allow me to use the instrument directly as an input device into a DAW, without having to route audio output from the webapp as I currently am.